
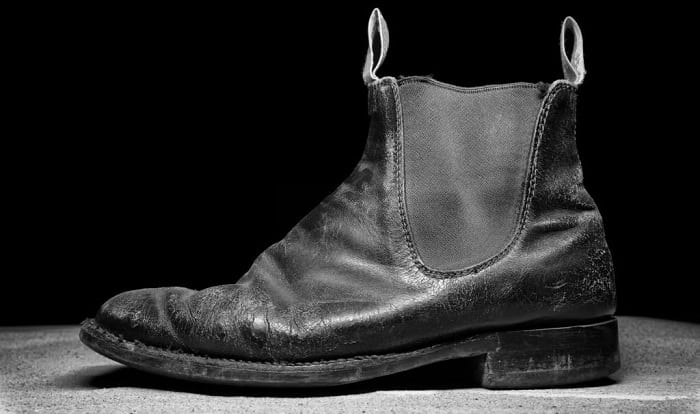
Cracked leather is among the natural processes happening to our leather-made items, not just shoes and boots. Over time, the leather experiences many uses, even in harsh conditions if you have a pair of leather work boots; thus, they are prone to drying and chafing.
When the creasing and cracking marks are obvious, they become a nuisance, lowering the value and appearance of our boots. There must be a way to redeem that since they are still of good quality, right? Well, yes! Read below for how to repair cracked leather boots and bring back the nice look on yours.
Table of Contents
How to Repair Light Leather Cracks With Leather Conditioner
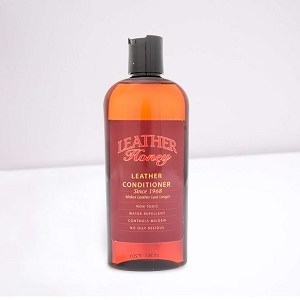
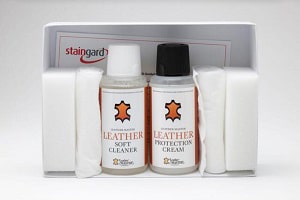
We should already be familiar with leather conditioners, which are formulated to restore the natural flexibility of leather fibers. Such products come in the forms of creams, oils, and wax, making them suitable for different types of leather and leather items.
What many might not know is that besides nourishing leather to prevent cracking, those solutions can also be used to fix light cracks. So, if you notice small marks or scratches on your footwear, repairing leather shoes with a conditioner is advisable.
What you need to prepare:
- A leather conditioner, preferably cream
- Gentle soap or detergent
- Water bucket
- Several pieces of clean cloth
- A small brush with fine and soft bristles
- A clean and small sponge
Step 1: Clean the cracked leather surfaces
Hopefully, your leather boots are pretty clean already, as this step is for cleaning and softening the parts that need fixing.
First of all, use a piece of clean cloth to rub the leather surface to remove any dirt there.
Then, you can pour some soap or detergent into a water bucket and make a soapy cleaning solution. Now, dip the fine brush into the cleaner and use it to brush off the oils, moisture, or any dirt left on the crack marks.
Step 2: Apply the conditioner
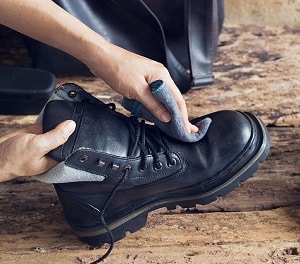
After moisturizing and softening the slightly cracked leather surfaces a little, you can now fix it by applying a leather conditioner.
Make sure you use a small sponge to dab the conditioner cream and spread it onto the leather. It is recommended to smoothen the agent, so it goes deep into the fiber and fills the cracks.
Do so several times until you find that the leather creasing lines are less deep and obvious.
Leave the conditioner there for about 10 hours to do its work of refurbishing leather boots.
Step 3: Reapply the conditioner
When the conditioner dries completely, you might want to apply one more layer which is less thick than the first one.
Even though there might be just small cracks, they are the first signs that indicate your boots need more care.
Therefore, if you do not want to restore leather shoes with severe cracking damages, make sure to use a leather oil or conditioner once every month.
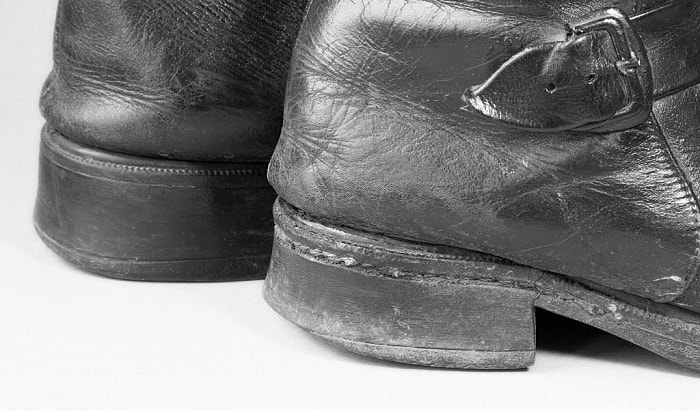
How to Fix Leather Boots With Deep Cracks and Scuffs
Severe damages ask for drastic measures. Therefore, we should use strong scrapping and filling materials for deeply cracked and scuffed leather boot repair.
Things you need to prepare:
Here’re the important items you need to prepare to make leather boots look new again:
- Leather-compatible cleaning product/mild detergent
- Water bucket
- Sandpaper (600 – 800 grit)
- Leather filler
- A palette knife
- Leather dye (matching the color of the boots)
- Sponges and clean cloth
- Leather conditioner
Step 1: Clean the leather boots
Since the boots are cracked, it would be better if you clean the whole pair to clearly notice if there are any minor marks anywhere and fix them all.
If you cannot find any suitable cleaner formulated to use for leather, it is okay to use a mild detergent or soap available in your house. Just make sure it’s not abrasive.
Pour the detergent into a water bucket to make soapy water. Then, use a piece of clean cloth to dab the cleaner onto your boots and start cleaning.
It is important that you do not soak the leather but clean all the dirt thoroughly. Then, hang the boots for them to dry completely before moving to the next step.
Step 2: Sand the leather surface
The next steps require applying all kinds of products to fix the cracks. But before that, we should polish leather boots, so the surfaces are a bit more smooth.
We have 600 or 800-grit sandpaper for that. Make sure you carefully rub the sandpaper onto all the deep cracks.
Step 3: Apply the leather dye
Since the leather has deep cracks and scuffs, it is best to repair the whole boots. That’s why we need a color-matched leather dye.
It is important that you purchase a full kit of leather dye with clear instructions to follow. You might need to mix the added tint with a base color, then apply the combination to the shoes using your prepared sponges.
Make sure you dab the whole pair evenly and not brush it to prevent leaving ugly streaks. Also, wait for the dye to dry before moving to the next step.
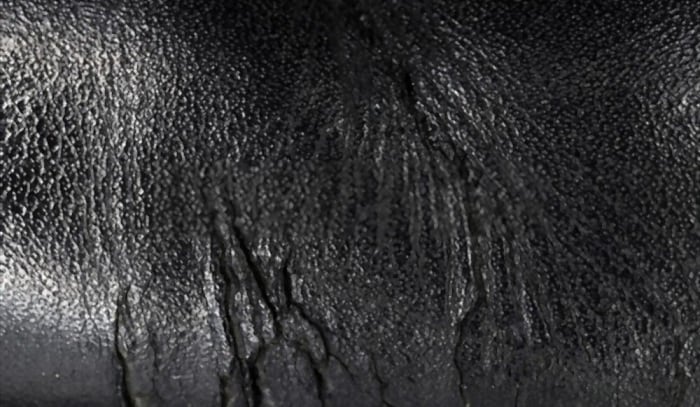
Step 4: Apply and smoothen the leather filler
A quality leather sealer or filler is the secret to leather shoe crack solution. Without it, the sanding and dyeing cannot hide all those deep scuffs.
Since it is an important step to fix cracked leather shoes, make sure to choose a suitable product and follow the instructions well.
- Work the filler into all the cracks and scuffs using your palette knife. Try to fill them completely, then use the same knife to smoothen the solution.
- Now, let it dry a little, then repeat the filling and smoothing process again. Make sure to use your knife well.
- Finally, use the sandpaper for sanding the completely dried leather surfaces again, with a little more force to make sure the layers are even.
Step5: (optional) Apply more dye and condition the leather
Indeed, you need to wait for a day or so to continue with this process, but you can apply more dye to create a nice finish for your shoes.
Furthermore, it is important to use a conditioner to keep leather boots from cracking more after fixing.
Can I Fix Cracks in Boots With Petroleum Jelly?
Yes, you can. You can always use petroleum jelly paired with a leather color balm to ensure your boots look good. However, this method is applicable to light cracks, not deep and heavy scuff marks.
Conclusion
Hopefully, this article offers you easy methods on how to repair cracked leather boots, both minor and severe defects. Make sure you choose the products carefully because a quality filler, conditioner, and dye are essential for long-term use.
Furthermore, do not forget to condition your leather shoes or any leather-made items you have frequently. It is better to care for them than to try to fix them after too much damage has been done.

This is Edward Manning, the editor in chief of Construction Informer. Quite a bit of my time is spent researching the market and interviewing experts in the field so that I can give you reliable information.