

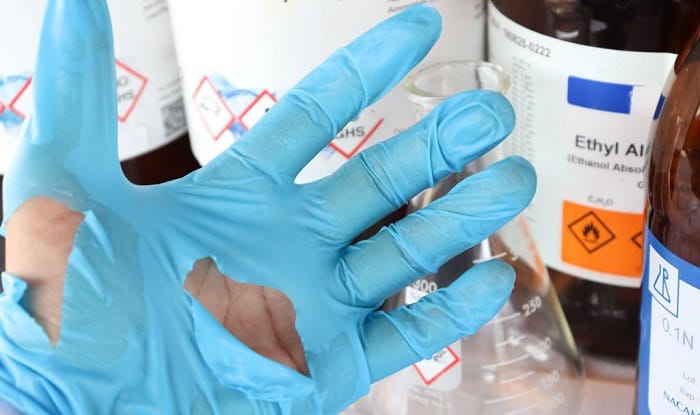
Rubber gloves resist punctures and cuts well, but a force too strong from a super sharp object can tear them, rendering them useless for protection in such a state. Furthermore, sometimes, the rubber gloves can be punctured with a small pointed object. And it would be such a waste to throw them away like that.
But, is it possible to fix punctured or ripped gloves made of rubber? The answer is yes in most cases. If the rest of your piece still looks fine and it’s durable enough to survive more uses, read here to know how to repair rubber gloves.
Table of Contents
How Do You Repair a Tear in Rubber Gloves?
There are several things you should know before getting into this guide. First, it is applicable to construction or automotive work gloves, which are thick pairs made of strong rubber.
They can be nitrile, silicone, or neoprene bluettes gloves that come with thick walls to resist abrasion, puncture, and abrasive agents.
Also, suppose those are not torn gloves with scattered pieces, but just ones with the finger cut off or an open hole or two. In that case, we can repair them with the following materials:
Step 1: Sand and clean the gloves
Since this method uses glue to fix rubber, it is useless if we leave the gloves dirty, full of cement and oils.
Therefore, make sure to do two preparation steps:
Now that the pieces are clean, we have a chance at repairing them with superglue.
Step 2: Cut the patching pieces
There is no miracle that can heal the torn parts, so we need patching pieces to cover the holes and help stick the open parts together.
Step 3: Glue the patches to repair torn rubber areas
You can cover the patch with wax paper and press your finger onto the wax paper for several seconds. Leave it there until the glue hardens. Then, take the wax paper off.
You can use the wax paper again to cover the torn parts and press a little for the glue to take effect.
Step 4: Check the gloves
That’s how you repair a tear in a rubber glove or a cut-off finger on the piece. Make sure you leave the glue to stick well and dry for several hours.
Then, you can check it by trying to blow air into the gloves to see if it can bloat. Then, try wearing the piece and make a fist. It is likely that the gloves will work well again.
Can You Repair a Hole in Rubber Gloves?
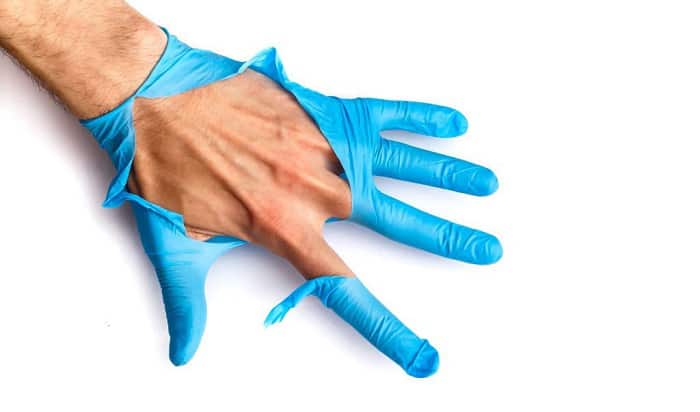
Yes, indeed you can. And this method works the best for cleaning rubber gloves like the ones we use in our kitchen or cleaning tasks around the house.
Also, it is easier to fix a hole in rubber gloves than to patch the tearing parts. If you want to fix small holes, especially puncture ones that do not require patching, here’re what you should do:
Indeed, there are several ways for you to test if the gloves are fixed well. You can fill them with water to see if any gets out.
A more gentle method is blowing air into the glove piece, then putting it in a water-filled sink to check for any escaping air that makes bubbles in the water. If there aren’t any, you are good to go.
Conclusion
The mentioned methods above are applicable guides on how to repair rubber gloves to help you in urgent situations. They can be a quick fix, so you can carry on working if you are sure that on-site hazards cannot get through the gloves.
If the fix only lasts you for several weeks, then the gloves are torn at the same parts again, it’s advisable that you choose brand-new functional work gloves.

This is Edward Manning, the editor in chief of Construction Informer. Quite a bit of my time is spent researching the market and interviewing experts in the field so that I can give you reliable information.